

Table of Contents
- Prepare Your Subfloor and Installation Area
- Measure, Cut, and Fit Your Woven Vinyl Flooring
- Select Adhesive and Manage Seams in Woven Vinyl Flooring
- Frequently Asked Questions
Last Updated: October 9, 2026
Prepare Your Subfloor and Installation Area
Before you install woven vinyl flooring, the subfloor must be clean, dry, and flat, a poor subfloor causes wrinkles, bubbles, and seam failures.
Remove existing flooring completely, then check moisture with a meter, readings above 3 pounds per 1,000 square feet per day mean it’s too wet. Seal cracks with concrete patching compound, sand high spots, fill low areas, and keep the surface flat within 3/16 inch over 10 feet.
Vacuum all dust and debris, wipe with a damp cloth, and let it dry completely, trapped dirt or moisture causes adhesive failure and lifting.
Acclimate your woven vinyl flooring in the installation space for 24-48 hours, keeping the room at 65-85°F and 30-60% relative humidity so the material relaxes.
Measure, Cut, and Fit Your Woven Vinyl Flooring
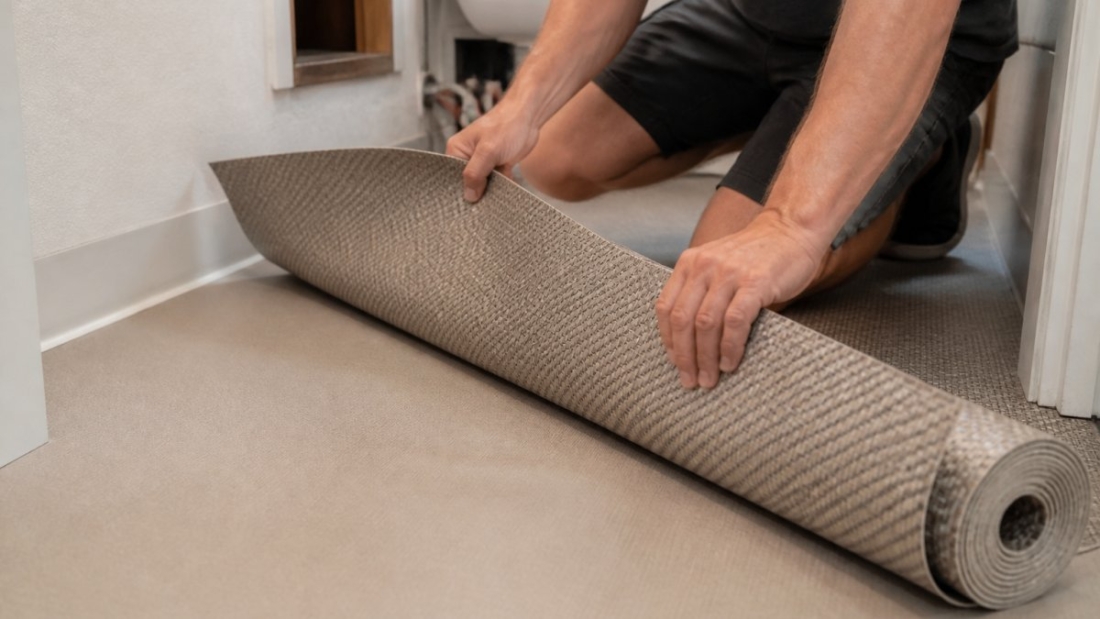
Accurate measurement prevents waste and ensures tight seams. Measure length and width at multiple points, noting irregular shapes, corners, and obstacles like cabinets or appliances.
For complex layouts, map the floor shape on kraft paper or cardboard, marking doorways, corners, and tight spots, then transfer the marks to the back of your woven vinyl flooring with a straightedge and pencil.
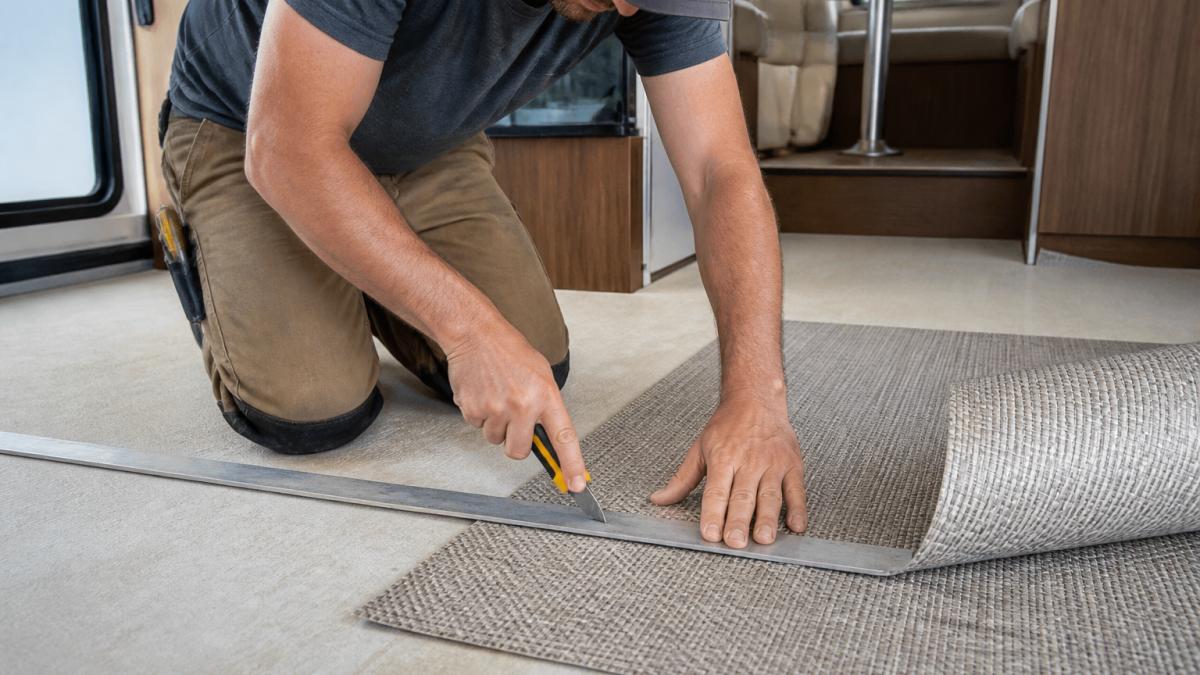
Dry-fit the material without glue, checking that seams align and edges fit snugly against walls. Trim excess with a utility knife and straightedge, adjusting until it fits perfectly.
Run seams perpendicular to the main traffic flow when possible to minimize wear and visibility, and align patterns carefully on directional designs.
Select Adhesive and Manage Seams in Woven Vinyl Flooring
Use a flooring adhesive formulated for vinyl on your subfloor type: moisture-resistant for concrete, flexible for wood. Always follow the manufacturer’s instructions for application rate and drying time.
Apply adhesive with a notched trowel in small sections you can cover within 15-20 minutes, keeping it tacky when the material contacts it.
Start at one end, press firmly across the room, then use a floor roller in overlapping passes to compress the material and remove air pockets.
For seamed installations, apply seam adhesive along the joint; marine and RV applications benefit from seam tape or liquid seam sealant. Allow 24-72 hours to cure before foot traffic.
Installing woven vinyl flooring requires precision: subfloor prep, accurate measurement and cutting, and correct adhesive selection determine whether it stays flat and sealed for years. North River Limited offers woven vinyl flooring engineered for marine and RV environments, including Seagrass and SupremeVinyl, built to perform in challenging conditions while delivering the aesthetic appeal your customers expect. Contact us to discuss how our flooring solutions fit your manufacturing needs.
Frequently Asked Questions
What should I put down before laying woven vinyl flooring?
Start with a clean, dry, flat subfloor. Remove any existing flooring, debris, and moisture. The substrate must be smooth within 3/16 inch over 10 feet to prevent adhesive failure and wrinkles. For marine and RV applications, check for moisture using a moisture meter; subfloor moisture should not exceed 3-4% by weight. Sand high spots and fill low spots with self-leveling compound if needed. Clean the surface thoroughly to remove dust and contaminants before acclimating your woven vinyl flooring.
Does woven vinyl flooring need to be glued down?
Yes, woven vinyl flooring should be adhered to the substrate to prevent movement, wrinkles, and seam separation. While some installations use no-sew methods for temporary applications, permanent marine and RV installations require proper flooring adhesive applied with a trowel. This ensures the material stays flat, seams remain nearly invisible, and the flooring withstands vibration and temperature changes. Always follow your product’s installation instructions and allow adequate curing time before foot traffic.
What are common mistakes to avoid when installing woven vinyl flooring?
Avoid rushing the acclimation phase, material must relax at 65-85°F and 30-60% relative humidity for at least 24-48 hours. Don’t skip subfloor preparation; uneven or damp substrates cause bubbling and adhesive failure. Never apply adhesive too thickly or too thinly; use the correct trowel size specified in your instructions. Failing to plan seams or match patterns creates visible lines and weak joints. Don’t walk on the flooring before the adhesive fully cures, typically 72 hours. Finally, avoid cutting corners during the template phase for irregular or boat-shaped floors, precision here saves material and installation time.